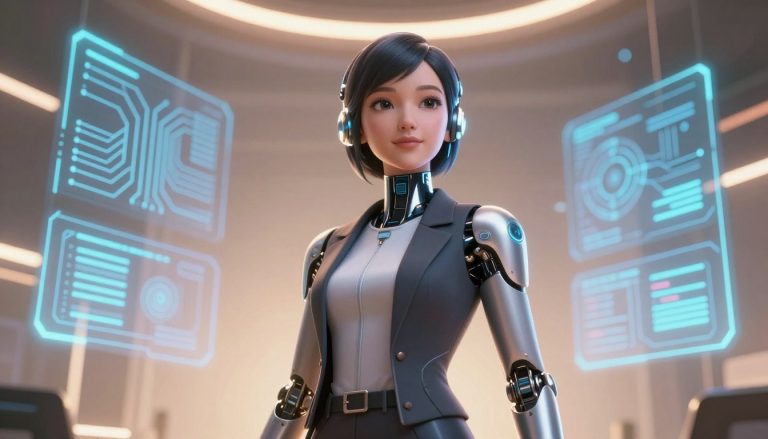
Anatomy Accuracy Checklist for AI Girl Creations
Ever looked at a generated image and felt something was off? You’re not alone in spotting those small, jarring flaws in digital portraits. Getting ai girl anatomy accuracy right takes more than a good prompt. It needs a sharp eye for human shapes.
Many creators face challenges in avoiding unnatural, distorted figures. This guide offers a comprehensive framework to improve your work. By using this checklist, you’ll learn to spot and fix common errors in generative models.
Mastering these details helps you create aesthetically pleasing results that stand out. Let’s dive into how to go from simple machine output to professional-grade character design.
Key Takeaways
- Identify common structural errors in generated character models.
- Learn to spot issues with limb proportions and joint placement.
- Apply specific techniques to improve overall visual realism.
- Understand the balance between creative freedom and physical logic.
- Refine your workflow to avoid typical digital artifacts.
Understanding the Fundamentals of AI Girl Anatomy Accuracy
To create digital characters, you need to understand your AI model’s basics. These systems are not like artists who know a lot about biology. They are sophisticated pattern matchers. To get ai girl anatomy accuracy right, you must see that these algorithms just copy visual trends from their training sets.
The Role of Training Data in Anatomical Consistency
Generative models are trained on huge internet datasets. These datasets have millions of images and often show societal biases, not true anatomy. When the data lacks variety, the model finds it hard to keep structural integrity in complex poses.
Your model reflects its training data. If the data focuses on certain beauty standards, the AI will follow those patterns. This is why you might see the same limb length or joint placement issues in your outputs.
Common AI Limitations in Human Proportions
The AI doesn’t truly understand human biology. It often chooses looks over logic. This results in improbable proportions that look good at first but don’t hold up. To improve ai girl anatomy accuracy, learn to spot these shortcuts early.
Start fixing these biases with prompt engineering and structural tools. Knowing the AI guesses joint and muscle placement lets you correct these errors yourself. Understanding these limits is key to getting top-notch results in your projects.
Setting Up Your Workspace for Precision Editing
Getting precise in your work is key to making figures look real and right. Organizing your digital space helps you control small details better. This way, you can avoid mistakes and keep your ai girl anatomy accuracy high in every project.
Selecting the Right AI Models for Realistic Anatomy
Not all AI models are the same when it comes to human looks. Look for models that focus on photorealism and correct anatomy. These models are trained on data that highlights the skeleton, not just looks.
Using a wrong model can make limbs look wrong or features mismatched. Choose a model made for detailed human figures. Check the model’s card or ask others to see if it’s good at anatomy.
Utilizing ControlNet for Structural Guidance
ControlNet is a key tool that connects your ideas with the AI’s work. It lets you guide the AI with images or skeletal maps. This way, the AI sticks to the right skeleton, avoiding weird limb issues.
Using ControlNet in your work makes sure the final image looks right. When you pick the right model and use ControlNet, your work will be very consistent. This is hard to do with basic AI methods.
| Tool Category | Primary Function | Impact on Anatomy |
|---|---|---|
| Fine-tuned Models | High-fidelity rendering | Improves texture and proportion |
| ControlNet | Structural guidance | Ensures correct pose and joints |
| Inpainting Tools | Localized refinement | Fixes minor anatomical errors |
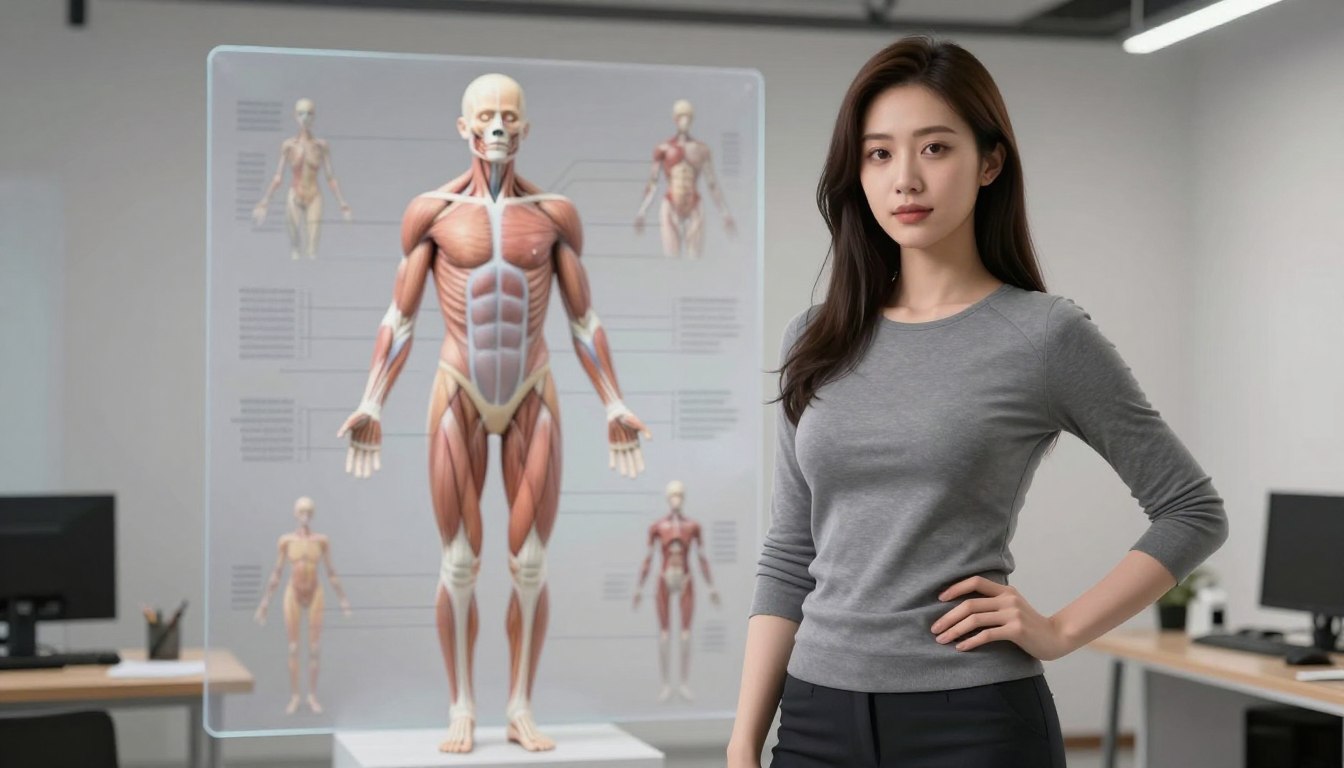
Evaluating Facial Features and Head Proportions
Understanding facial structure is key to making ai girl anatomy look real. AI systems sometimes get facial recognition wrong, leading to misaligned eyes or distorted features. Precision is crucial to keep your work looking realistic.

Correcting Eye Alignment and Symmetry
Facial symmetry is a big challenge for AI-generated images. When eyes are not even, the portrait looks fake. Make sure the pupils are aligned and the eyelids are curved right.
If eyes seem off, use inpainting tools to fix just that area. This way, you can correct small issues without changing the rest of the ai girl anatomy. Regular practice will help you get the gaze right.
Refining Jawlines and Neck-to-Shoulder Transitions
AI portraits often have a bad connection between the jaw and neck. The shadow and skin texture should smoothly go from chin to collarbone. A harsh transition means the AI didn’t get the skeleton right.
To fix this, focus on the jawline’s lighting. If the transition looks bad, use a soft brush to blend the shadows. This small detail is important for top-notch ai girl anatomy in your work.
| Facial Feature | Common AI Error | Correction Strategy |
|---|---|---|
| Eye Alignment | Asymmetrical pupils | Localized inpainting |
| Jawline | Jagged edges | Soft-brush blending |
| Neck Transition | Disjointed shadows | Manual light adjustment |
| Skin Texture | Over-smoothing | Adding grain/noise |
Mastering Torso and Limb Proportions
Improving your digital art starts with the details. Focus on the connection between shoulders, arms, and the spine. A natural look comes from understanding these relationships. By refining ai girl anatomy, you avoid the uncanny valley and aim for realism.
Checking Shoulder Width and Arm Length
AI models often get limbs wrong, making them too long or misshapen. This can make your character look fake. To fix this, measure the arm length against the torso width.
Arms should match the torso height. If they’re too long, your character won’t feel real. Make sure joints line up with the spine for anatomical consistency.
Ensuring Natural Spinal Curvature and Posture
The spine’s natural curve defines how a body holds its weight. Look for the “S” curve in your images for relaxed or active poses. An unnatural back can make your ai girl anatomy look out of place.
Focus on weight distribution to ground your character. A balanced center of gravity makes poses look intentional. Use the table below to spot common proportion mistakes.
| Anatomical Feature | Common AI Error | Corrective Focus |
|---|---|---|
| Shoulder Width | Too narrow or sloped | Align with hip width |
| Arm Length | Excessive elongation | Wrist should reach mid-thigh |
| Spinal Curve | Overly rigid or flat | Maintain natural S-curve |
| Joint Placement | Misaligned elbows | Ensure hinge point accuracy |
“The beauty of a figure lies in the harmony of its proportions and the grace of its natural movement.”
Troubleshooting Hand and Finger Generation
Hands are often the hardest part of keeping ai girl anatomy consistent in digital art. Generative models find it hard to get the finger geometry right. Spotting these errors is key to getting a professional look.
Identifying Common Hand Artifacts
When AI models get the spatial proportions wrong, they might add extraneous body parts. Look closely at your images for signs of anatomical mistakes.
Some common problems include:
- Polydactyly: Having six or more fingers on one hand.
- Fused Joints: Fingers that seem stuck together or lack clear separation.
- Perspective Distortion: Hands that look way too big or small compared to the arm.
- Missing Digits: Hands that disappear into the background or lack a thumb.
Techniques for Inpainting and Manual Correction
Don’t throw away an image just because the hands are wrong. Use inpainting to fix just the hand area. This keeps the rest of your ai girl anatomy intact while focusing on finger details.
Here are some tips for better results:
- Mask the area: Use a brush tool to select the hand and wrist carefully.
- Adjust denoising strength: Set denoising strength to 0.4 to 0.6 for creative changes without losing the pose.
- Use specific prompts: Include terms like “detailed fingers” or “natural hand pose” in your prompt to guide the AI.
By making these targeted corrections, you keep control over your ai girl anatomy. With practice, fixing hand artifacts will become easier, leading to better results.
Refining Leg Structure and Foot Placement
Your character’s stance is key to their look and feel. AI figures can struggle with the lower body, making them look off. A good proportion guide helps spot where the body doesn’t look right.

Analyzing Knee and Ankle Joint Realism
The knee is often a problem in AI figures, looking too high or wrong. Make sure the patella lines up right with the femur and tibia. If the knee looks stiff or wrong, the whole leg will look off.
The ankle must support the body’s weight. If it’s not right, the foot looks wrong. Check the ankle’s position to make sure it looks natural. This is crucial for your character’s look.
Fixing Perspective Issues in Lower Body Poses
Legs can look like they’re floating due to AI mistakes. This happens when the AI gets the horizon line or foot placement wrong. Use ControlNet to fix the depth or pose skeleton.
Try adding phrases like “firmly planted on the ground” to your prompts. If feet still look wrong, manual editing is best. Here’s a table to help fix common leg problems.
| Common Error | Visual Symptom | Recommended Fix |
|---|---|---|
| Floating Feet | Gap between sole and floor | Use depth-based ControlNet |
| Inverted Knees | Joint bends backward | Refine pose skeleton input |
| Disproportionate Shins | Legs look too short or long | Apply strict proportion guide |
| Ankle Distortion | Foot appears detached | Inpaint with focus on joints |
Applying Post-Processing Techniques for Anatomical Polish
Turning a raw AI image into a masterpiece needs a keen eye and the right tools. Even if your first try looks good, small mistakes can ruin it. By using a proportion guide, you can make sure your character looks real.
Using Generative Fill for Seamless Corrections
Generative fill has changed how we fix small mistakes in AI images. You can fix just the wrong parts without redoing the whole image. This tool lets you tell the AI to only fix the bad spots.
When using this feature, make sure your selections are precise. If you’re fixing a limb, make sure the AI has enough context. This way, it won’t add anything you don’t want.
Blending Digital Painting with AI Outputs
AI is great at textures but struggles with human anatomy details. Mixing digital painting with AI outputs helps fix skin and small details. You can use a digital brush to adjust shadows and highlights.
This mix of AI and manual work is key for a top-notch finish. Here’s how to improve your final image:
- Manual Cleanup: Use a soft brush to remove artifacts around joints or fingers.
- Color Grading: Make global changes to keep skin tones even.
- Detail Enhancement: Add highlights to places like collarbones or knees to show natural proportion guide markers.
- Texture Matching: Use a noise or grain filter to match AI areas with your hand-painted parts.
By mixing AI’s speed with manual editing, you control your character’s look. This proportion guide method makes sure your art is both anatomically correct and beautiful. Consistency is the hallmark of a true professional artist.
Implementing a Quality Assurance Workflow
You can make your AI generation process reliable by setting up a formal review system. A consistent QA routine helps keep your creations accurate. This way, you control the final result better.
Developing Your Personal Anatomy Checklist
A personal checklist is your main QA tool to spot errors early. Review each generation against specific criteria for structural integrity. This saves time and reduces post-processing needs.
Here are some items to include in your routine:
- Joint Alignment: Make sure elbows, knees, and ankles move naturally.
- Proportional Balance: Check that limbs and torso match the character’s scale.
- Symmetry Check: Facial features and shoulder widths should be balanced.
- Artifact Detection: Look for extra fingers, distorted joints, or background errors.
Iterative Testing and Prompt Engineering Strategies
Iterative testing and visual analysis help spot patterns and errors. Use QA findings to improve your prompt engineering. Adjust your keywords to focus on specific anatomical details.
Experimentation is crucial for mastering poses. If a prompt often results in distorted limbs, try breaking it down. Document what works best for future projects.
Conclusion
Mastering AI-generated anatomy is a mix of technical skill and creative flair. You now know how to turn simple prompts into detailed, realistic figures. Tools like Stable Diffusion or Midjourney make this possible.
Staying consistent in your quality checks is key to success. By carefully reviewing each creation, you catch small mistakes early. This helps your work shine in a busy digital world.
As you get better, remember that generative art is all about improvement. See each project as a chance to get better at crafting prompts and understanding structure. Sharing your work online can also help you learn from others.
Even as technology evolves, your attention to detail remains crucial. Keep trying out new tools and updating your quality standards. Your commitment to accuracy will make your future art stand out.
FAQ
Why do AI models often struggle with maintaining a realistic ai girl anatomy in their outputs?
AI systems like Stable Diffusion or Midjourney learn from vast internet data. This data often shows stylized beauty rather than real anatomy. To get realistic anatomy, use a detailed guide and specific prompts that focus on anatomy.
Which tools are most effective for ensuring structural guidance and skeletal accuracy?
ControlNet is key for better AI art. It lets you set a skeletal framework or pose. This ensures your character looks human and consistent, no matter the pose.
How can I fix asymmetrical eyes or distorted jawlines in my AI creations?
Facial accuracy is a big challenge. Use facial restoration models or adjust eyes manually. Pay attention to neck to shoulder transitions for natural anatomy. Consider a LoRA for facial symmetry.
What is the best method for troubleshooting extra digits and fused fingers in AI art?
Hands are tricky for AI. Use Inpainting in Stable Diffusion to correct hands. Targeted corrections help the AI fix digits without changing the rest of the image.
How do I ensure that the lower body and leg structure look realistic in seated poses?
Analyze knee and ankle joints for perspective. Use Adobe Photoshop Generative Fill for accurate limbs. Foot placement is key for realism and weight in your character.
Why is a consistent QA workflow important for professional AI generation?
A structured QA workflow catches errors early. Develop a checklist and treat prompts as experiments. This reduces manual corrections and ensures quality in every project.